This section outlines how to add pages that are visible to the general public (pages that don’t require authentication to be viewed).
Creating a Home Page
The “home” page is the root landing page for the portal. It should be added as the first step in the creation of your portal.
Step 1 – Create a new home page.
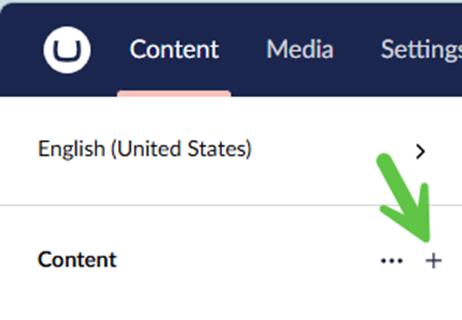
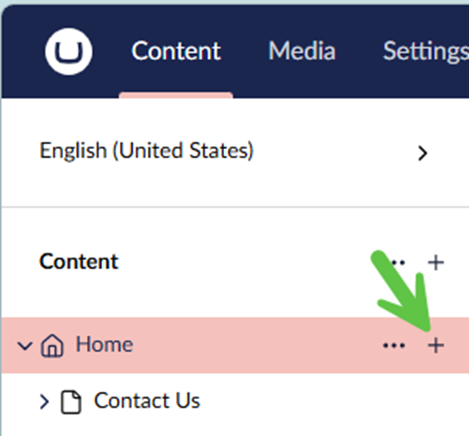
a) From the Content folder, click the ‘+’ and then add a new “Home Page” content item.
Step 2 – Configure the new page.
a) Give the page a meaningful name such as “Home”.
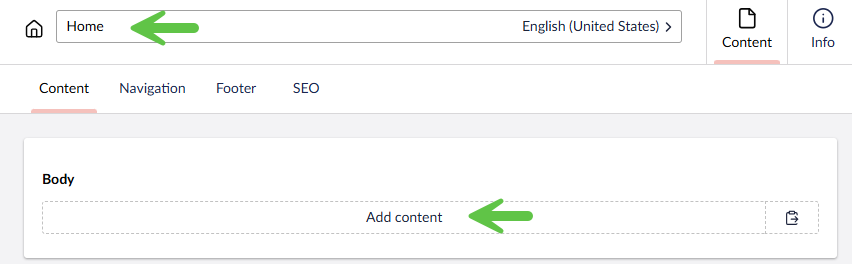
b) In the page Body, click Add content and configure the home page as needed using the various widgets. See examples in Appendixes below.
c) When finished designing the page click Save or Save and Publish.
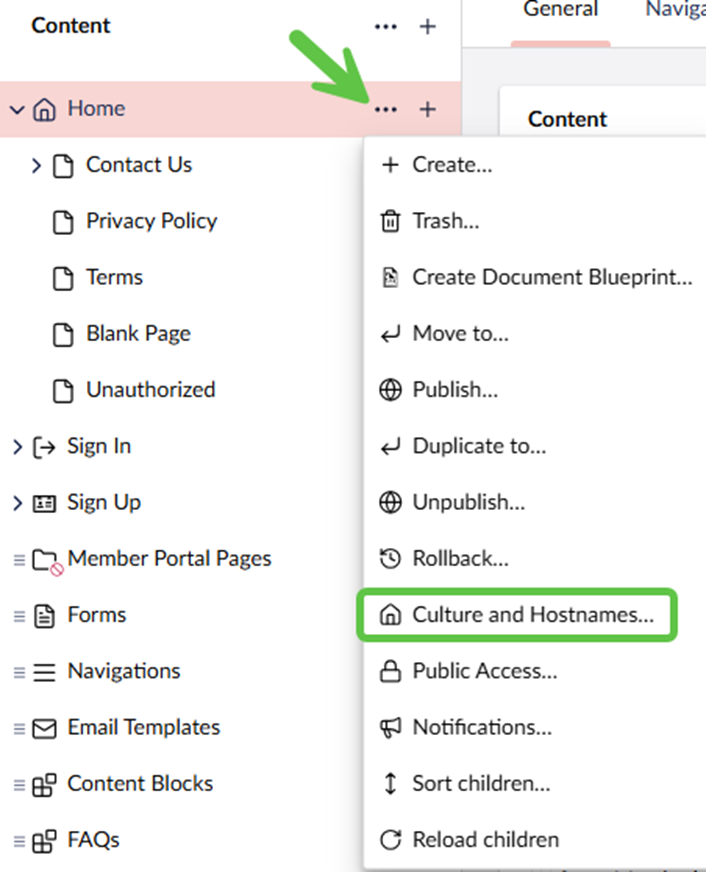
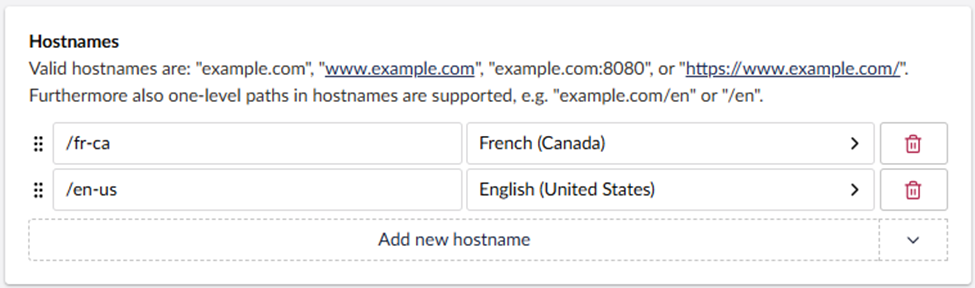
Step 3 – Set the Culture and Hostnames
This step assumes that the language have been previously configured.
a) Select the Culture and Hostnames option.
b) In the Culture section, make sure “inherit” is set.
c) In the Hostnames section, click Add new hostname to add new references for languages that have been previously configured. Click Save to commit the changes.
Creating Child Pages
Step 1 – Create a new child page.
a) From the Home page, click the ‘+’ and then add a new “Page” content item.
Step 2 – Configure the new page.
a) Give the page a meaningful name such as “Contact Us”.
b) In the page Body, click Add content and configure the page as needed using the various content widgets.
c) When finished designing the page click Save or Save and Publish.
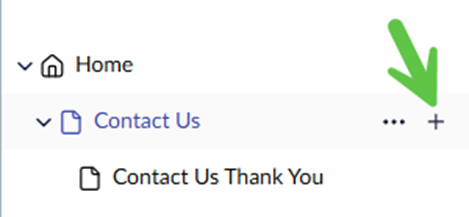
PRO TIP: For readability, pages can be organized into a hierarchy by adding child pages beneath parent pages.