This section outlines how to create and modify forms that are connected to Dataverse.
ProTip: ProTip: See the How To Guide for examples on how to configure the Form widget.
Important! Before creating a form, ensure that the table and related metadata has been configured in the VLP section. See here.
Creating & Configuring a Form
Step 1 – Create a new form.
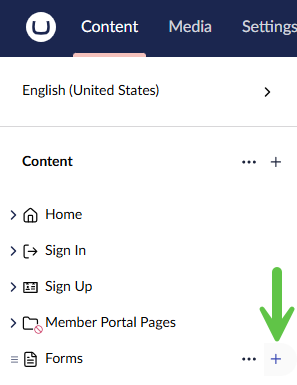
a) From the Content folder, click the ‘+’ and then add a new blank Form.
Step 2 – Configure the form.
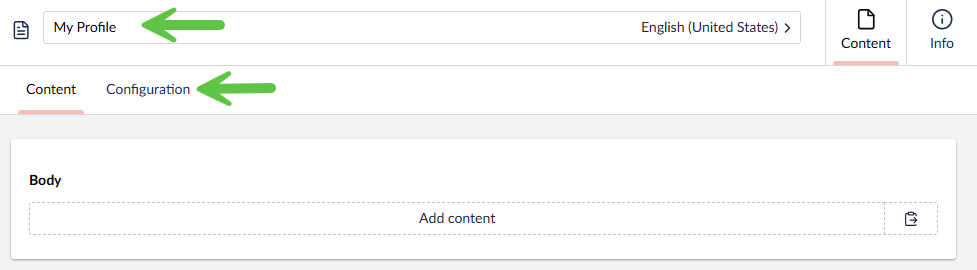
a) Give the form a meaningful name.
b) Click the configuration tab.
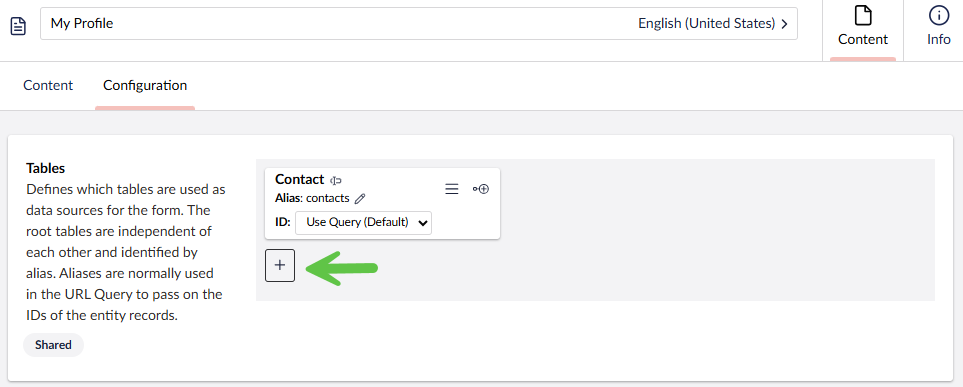
c) Click the “+” and then select the appropriate Dataverse table(s) from the list and click Submit.
See Advanced Form Table Configuration below for full details.
d) Click Save and Publish to save the new form.
Adding Fields & Content
After the form has been created with the appropriate table configuration, then the layout, content and form controls can be added.
ProTip: Use the Basic Layout widgets (Row, Column, and Container) to keep pages consistent and responsive.
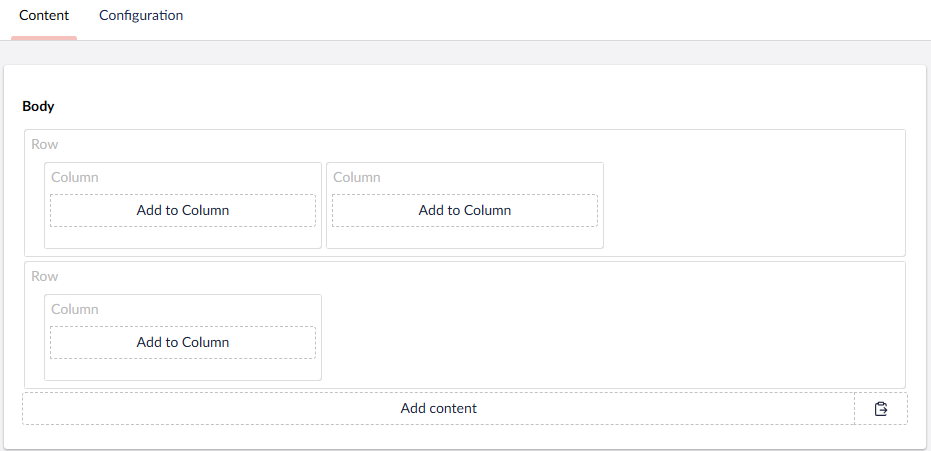
Step 1 – Create form structure.
Add basic form layout widgets to the form to create the form structure.
Example: A row with two columns and another row with 1 column.
Step 2 – Add Form Widgets
Click Add to Column and select a Form Control from the list to add to the form.
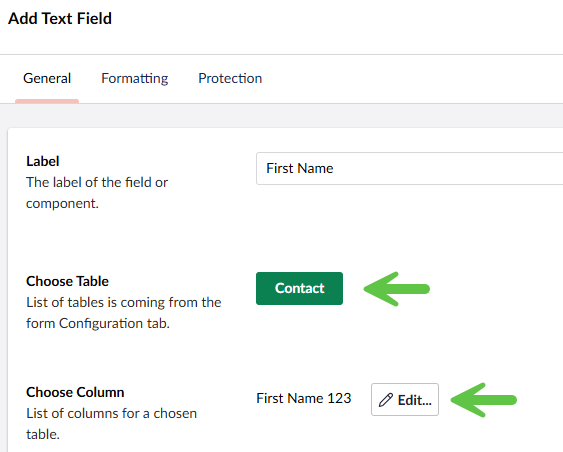
Step 3 – Select the Table and Column
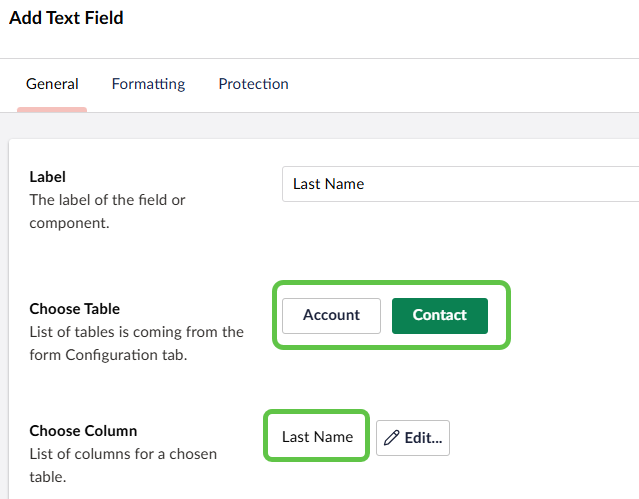
Each Form Control widget has it’s own unique properties however all of them have a set of common properties that define the table and column. Choose the table and then click Edit in the Choose Table property to select a column.
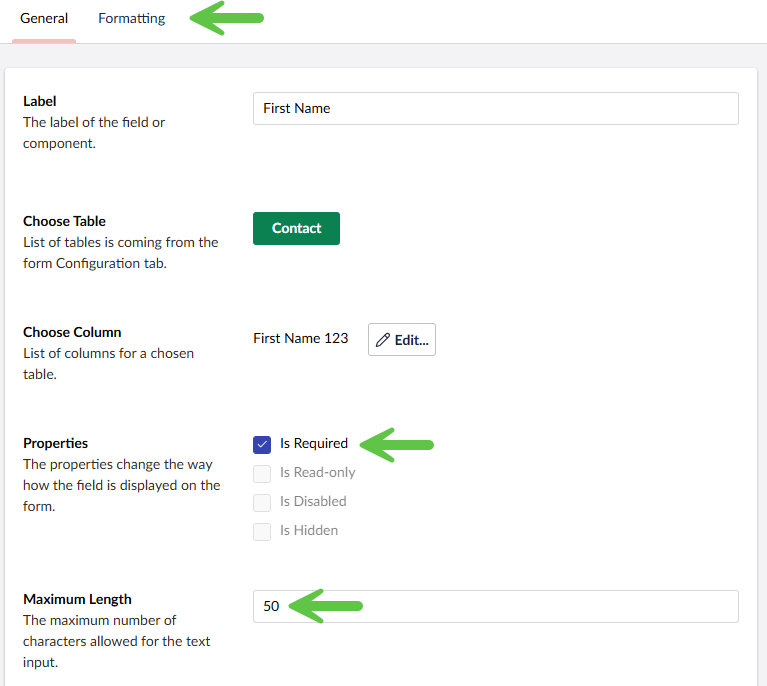
Step 4 – Configure the Form Widget
Complete the the configuration of the widget by setting the other properties specific to the selected widget (ie. Maximum Length, Description, Label, Formatting, etc.) and then clicking Create to save the configuration.
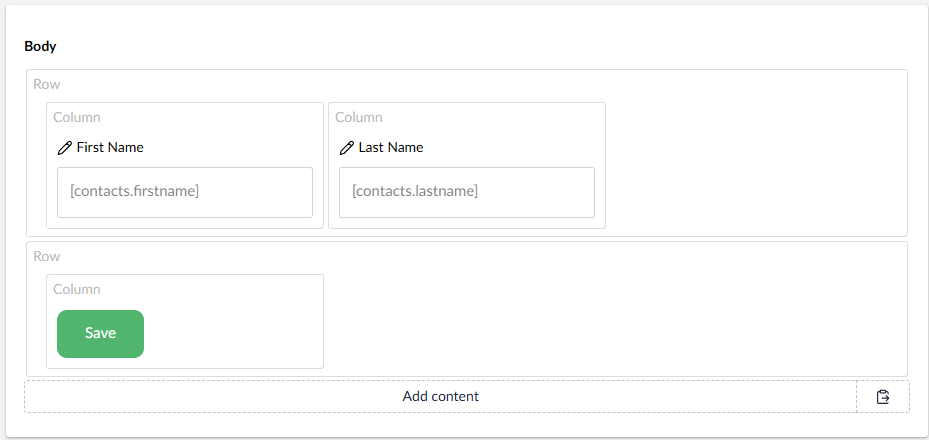
Step 5 – Complete Form Creation
Repeat the steps until all the fields and content have been added and then click Save and publish.
Example of a form with two text fields and a Save button:
Adding a Form to a Page
Forms need to be added to a Page in order to visible to the portal user. Assuming the Page and the Form have been previously created, these are the steps to add a form to a page.
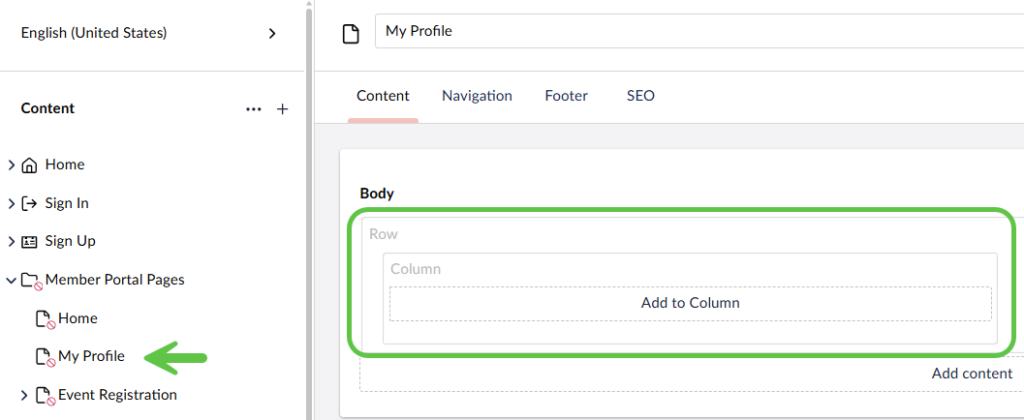
Step 1 – Select the Page
From the content folder, select the page where the form will be added and ensure the proper page layout is configured.
Example:
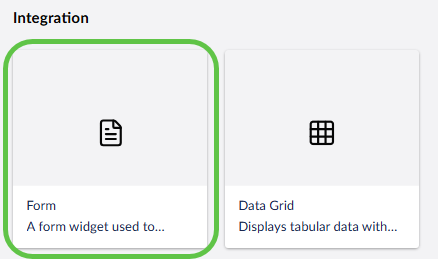
Step 2 – Add the Form Widget
Add the Form widget to the page by clicking the Add content or Add to Column and selecting Form from the list of Integration widgets.
Step 3 – Configure the Form Widget
Click Choose:
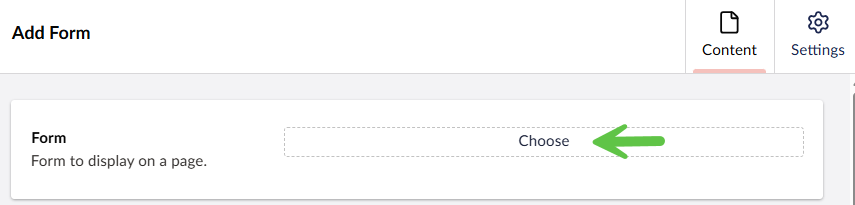
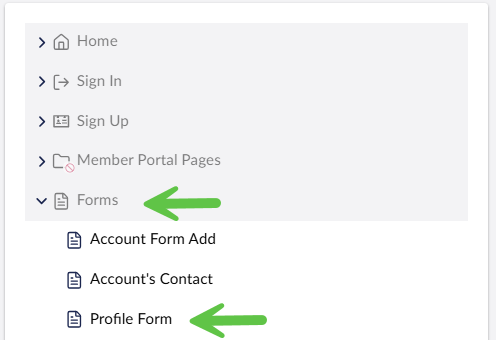
Then select the appropriate form from the Forms folder.
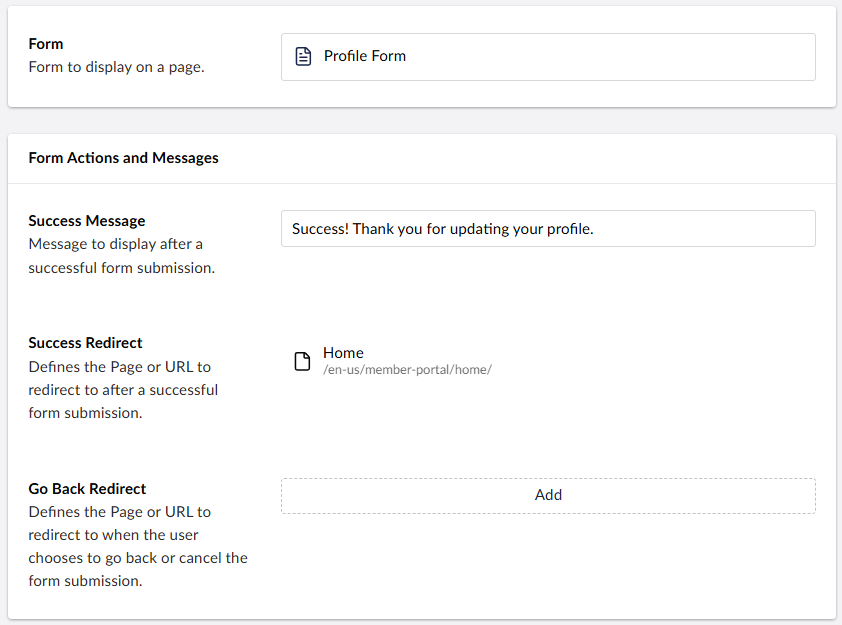
Step 4 – Configure Form Properties
Configure the form properties as needed and click Create to save the configuration. See the Forms definition in the Widget Library for complete details.
Example:
Step 5 – Save & Refresh
Click Save and publish. The form should now be visible on the portal page.
Advanced Form Table Configuration
The Vertical Lift Portal has a powerful configuration option for forms that allows complex N:1 table relationships to be defined.
For example, the following configuration defines an N:1 relationship between the Account and Contact table using the account_primary_contact relationship (the Account has one primary Contact).
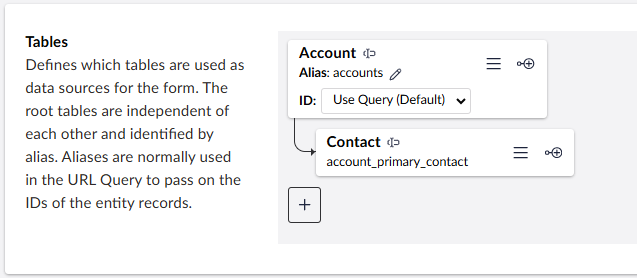
In this example, since the Account and Contact table relationship has been defined, the form widgets have multiple tables from which fields can be selected.
Here you see that the Last Name field was selected from the Contact table but that the Account table is also available to select fields from if needed.